
Disclosure: This post may contain affiliate links, meaning I get a commission if you decide to make a purchase through my links, at no cost to you. As an Amazon affiliate, I earn from qualifying purchases. However, I only recommend products I would use myself and all opinions expressed here are my own.
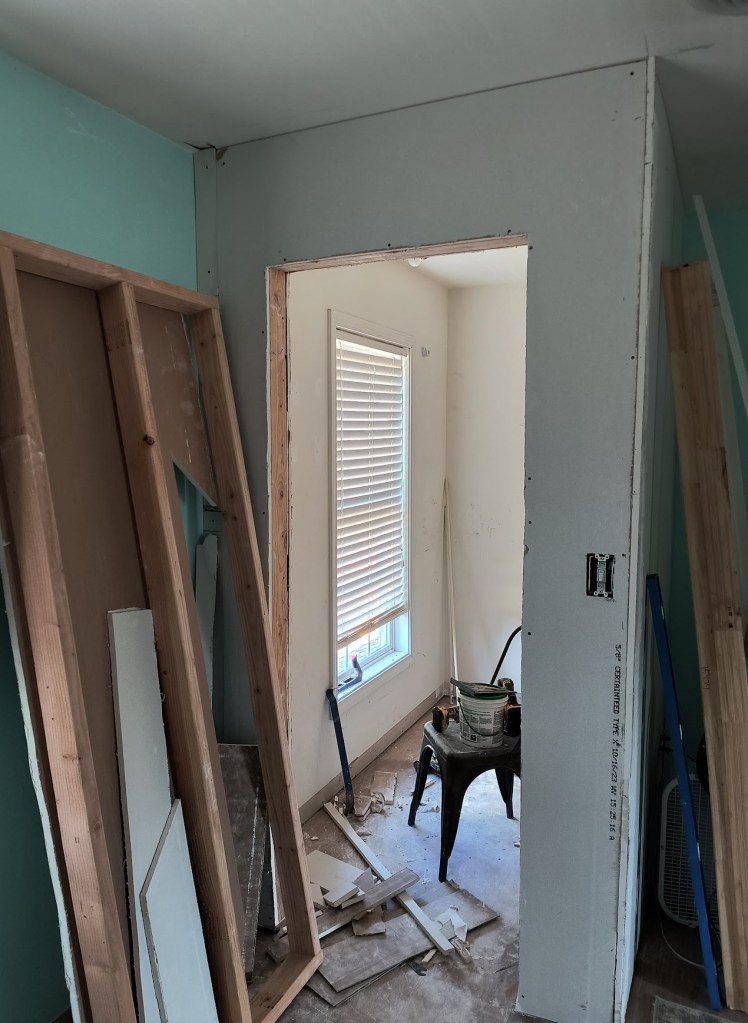
This week we are focusing on 2 large tasks, and a host of small ones. The 2 large goals we set for the week are finishing the drywall installation in my closet, and mudding and taping the seams.
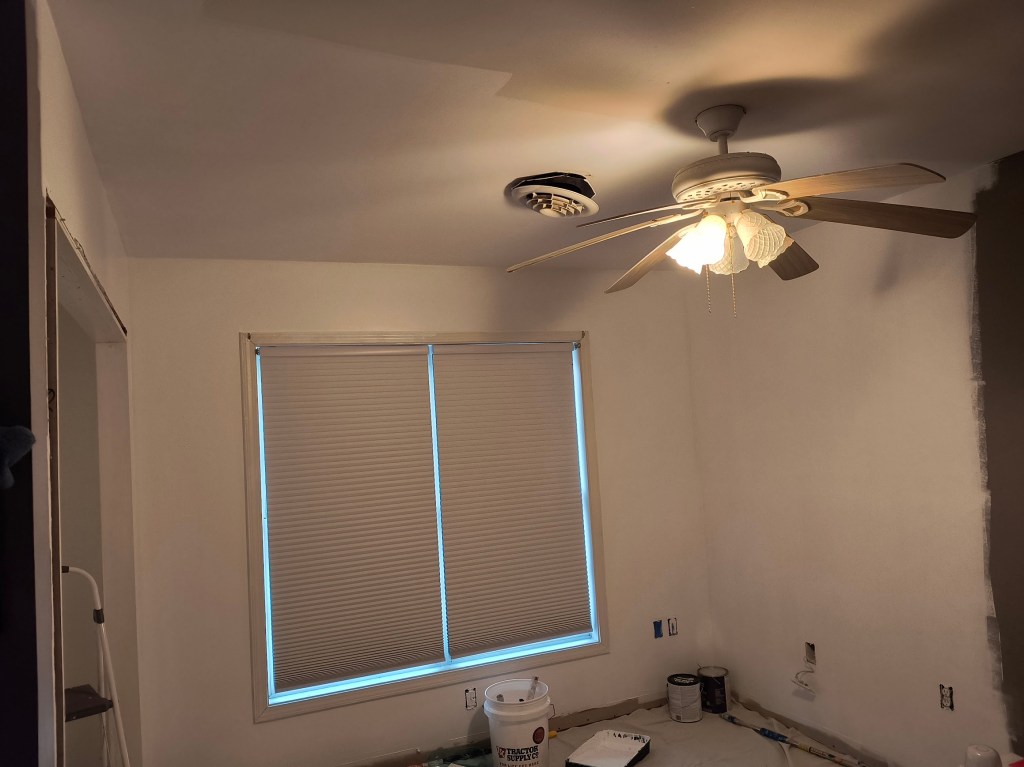
The smaller goals include continuing the battle against the mold in the laundry/pantry area, and continuing to paint the first kids’ room. The present goal there is to bring it from a dark, dreary hue back to white, ready for a more buoyant, relaxing color.
After installing the drywall, the next step is to backfill any drywall seams bigger than 1/8″ with joint compound a.k.a. drywall mud. This is done before mudding and taping to help prevent any cracks later on down the road. This step is pictured below. Note: you may have to repeat this step 2-3 times depending on the size of the gap.
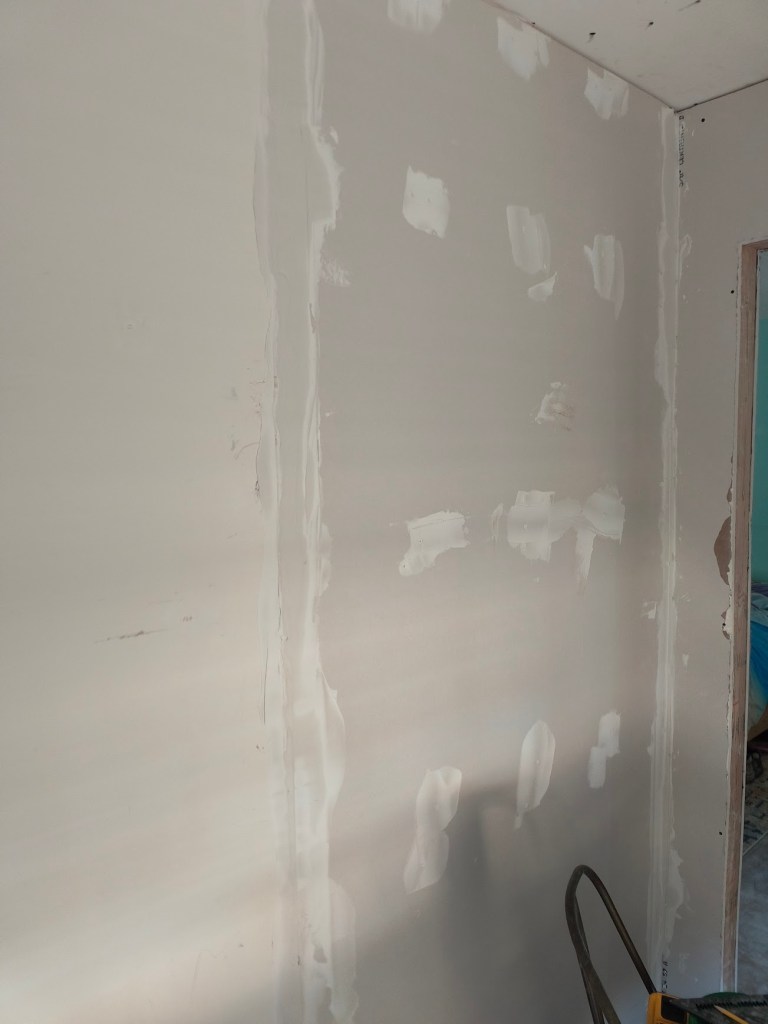
After the backfill mud is completely dry, we can mud and tape the seams. We like to use Fiba Mesh Tape, which is self-adhering rather than having to do a sort of Papier-mâché with regular non-adhesive paper tape. It is a bit more expensive, but to us it’s worth it.
TIP: Multiple layers of joint compound may be needed for this step, with sufficient drying time between applications. This prevents your drywall from getting soggy/spongy. When applying, I like to think of it like icing a cake, just a long straight one. Some ladies might liken it to applying foundation. But I bake more often than I wear foundation, so I think of icing.
First, you slap on a good glob of this stuff, then pull it down with a putty knife in a straight line, leaving about 1/4″-1/2″ thick layer of it for the next part, feathering. This is the diagonal spreading of the mud from the center (seam) to each side in a sweeping motion, leaving short swaths of gradually thinner drywall mud as you move away from the seams.
Think karate kid: Wax on, Wax off. Except we’re not doing a circle here, just some short, stubby rays of sunshine.
Tip: When finished, you should no longer be able to see the tape. This helps to blend the drywall seams into the rest of the wall, instead of visible humps.

If we get around to it this week, next we’ll be sanding the drywall seams in my closet. This is to further smooth and blend the joint compound we applied in the last steps. We don’t want to leave uneven lumps or lines in our feathered mud. These will also stick out like a sore thumb after painting.
We like to use our oscillating tool for this, with the sander attachments. The sand paper bits we use were black and 120 grit. There is a 12V version of the oscillating tool that is significantly lower-priced and works just fine for this task, I just couldn’t seem to find it on Amazon with the right attachments.
Note: I also recommend the lower powered one because it’s lighter, and this is a task you really want to take your time with.
Sanding with the oscillating tool does create a lot of dust, like a bag of flour exploding. But that’s kind of par for the course when sanding anything, whether using hand or power tools. We still prefer it as It’s quick, efficient, and less tiring on the body.
Note: a light touch is needed for this. We’re not trying to undo all our hard work in the previous steps.

Photo by Gustavo Fring
TIP: Be mindful of the angle of the sander as well, so as not to create gouges in the joint compound. I also highly recommend having a second battery ready to go on the charger rather than having to stop and wait for a single battery to charge.
All of these individual tasks are things that are difficult to explain and you have to just do it and get a feel for it. It feels kind of like trying to paint in the dark at first. Once you start getting a feel for it, it feels like you’re a kid who likes to color on the walls and you’re trying to figure out how to do it without getting into trouble.
Right now, my husband and I are both at an impasse, while we wait for different things to dry. Him for the second layer of backfill on the drywall seams, and I for the second coat of paint.
Tomorrow, I will be applying the second coat of ceiling paint. I highly recommend this video for learning how to do it properly. When that is dry, I can shift all my son’s belongings to the finished side of the room so I can paint the second half next week. Also next week, we will hopefully be taping, mudding, and sanding.
Fellow DIYers, handymen/women, professionals, feel free to comment any tips or tricks below! I also welcome constructive feedback, but let’s keep it clean, respectful, and relevant.
