Part 5: Mud and Taping My Closet and Painting Bedroom #1
Disclosure: This post may contain affiliate links, meaning I get a commission if you decide to make a purchase through my links, at no cost to you. As an Amazon affiliate, I earn from qualifying purchases. However, I only recommend products I would use myself and all opinions expressed here are my own.
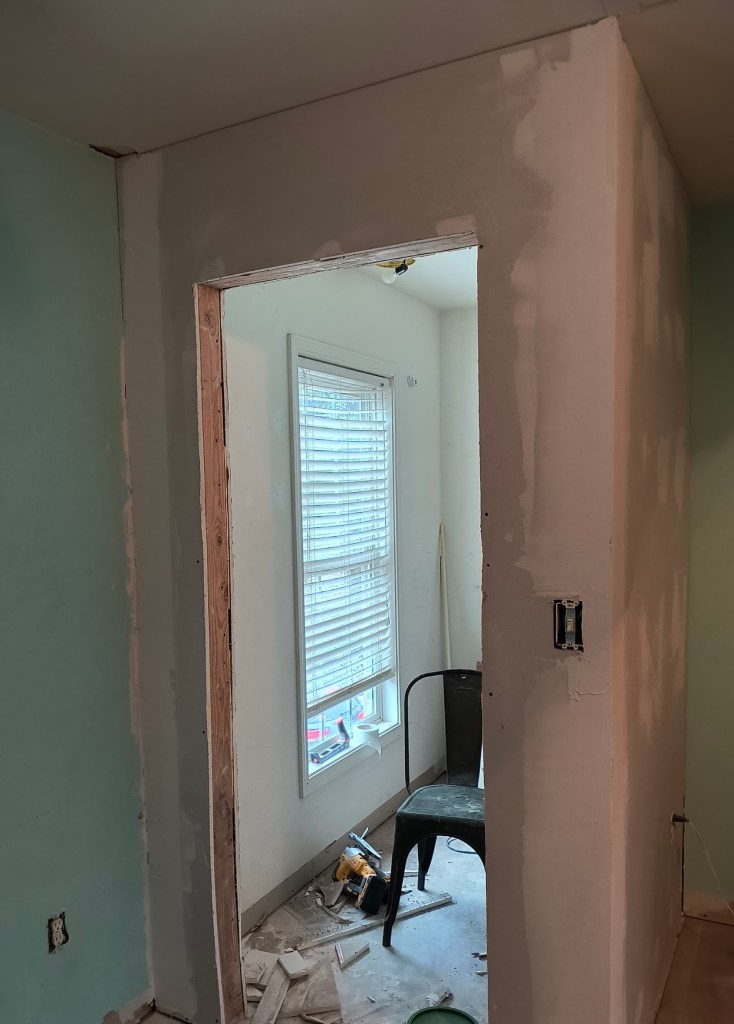
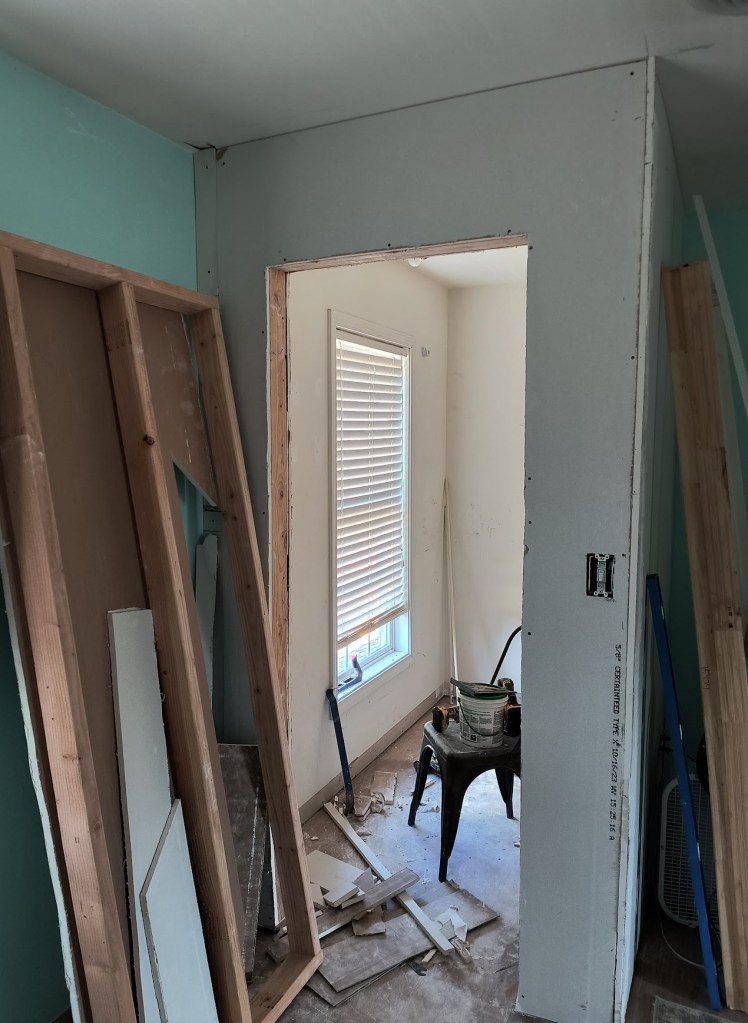
Drywall work is much harder than it looks. Which is exactly why we are still working on the drywall in my closet, though it’s inching closer and closer to completion. Then we can finally prime and paint! It’s worth pointing out that ceiling drywall work was much harder than dear husband anticipated.
As he was trying to mud and tape the ceiling, part of the tape strip fell down and slapped him with drywall mud. After untangling himself and cleaning up, he called it a day. I can’t say I blame him, for that or the tirade of obscenities he bellowed out afterward.

Mold
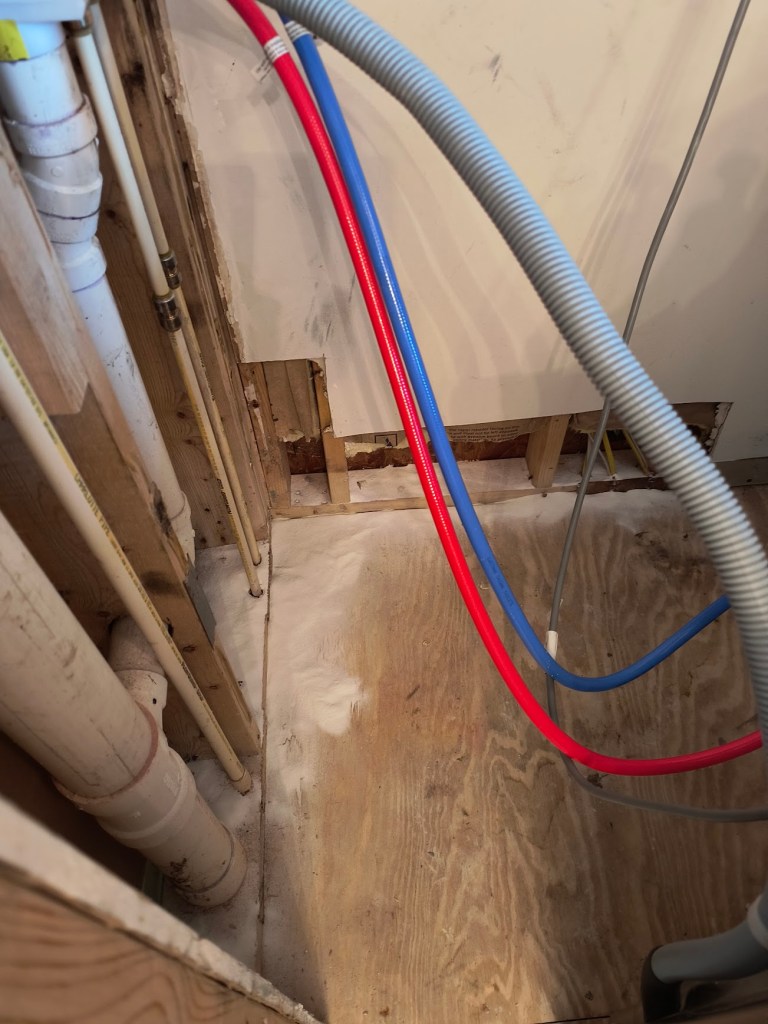
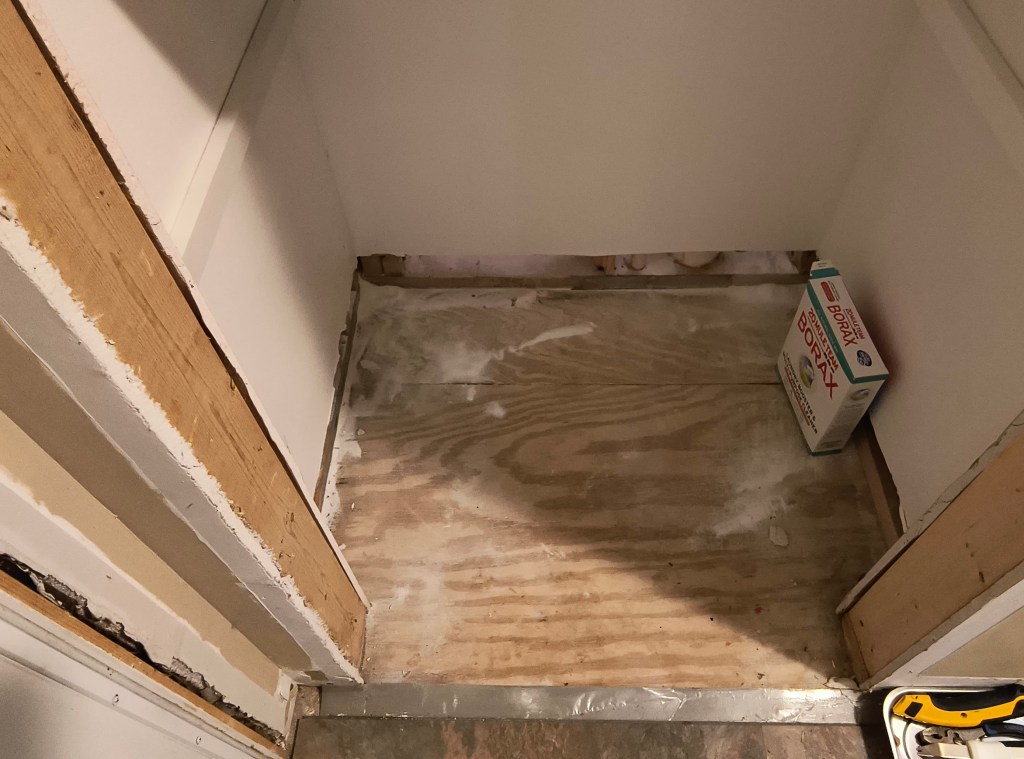
Where are we at with the mold? Well, after multiple applications of a mixture of borax + water, I’m happy to report that there is no longer any mold. As a matter of fact, when looking up at floor from the basement I can see where the borax solution penetrated all the way through the subfloor, killing any mold in its path. Thus, I conclude that this is the superior cleaning method.
I’m tempted to perform some overkill with another round of bleach and/or peroxide as well. Why? Because mold is a nasty bugger that can be difficult to eradicate if you don’t catch it right away. It’s a darn shame that home inspectors aren’t allowed to peak into the walls of wet rooms, via inserting a tiny camera with a light on a cable or something. That would have saved us a lot of headache.
Anyway, my husband decided he wanted to do his own overkill method by pouring straight borax powder on the crevices. I said “Go for it. I’m all for overkill when it comes to mold.” He even made a paper funnel to get it into the area of the studs behind the studs.
I may just take it a step even further and put this primer with fungicide on the subfloor before we install the LVP tile over it.
Paint
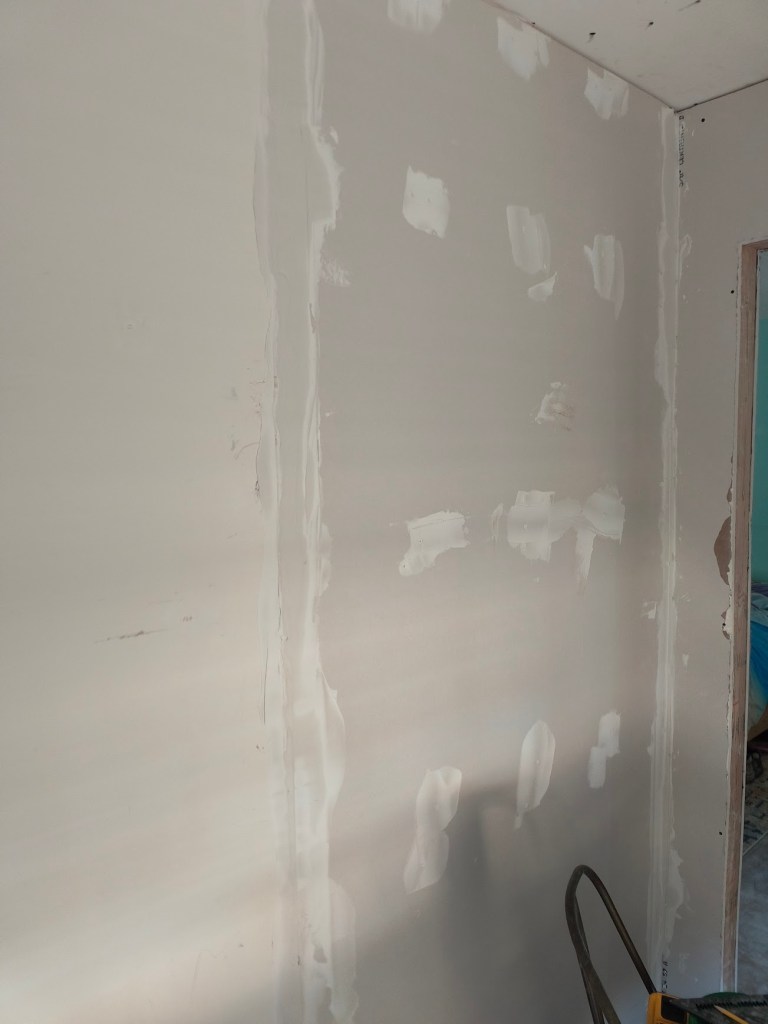
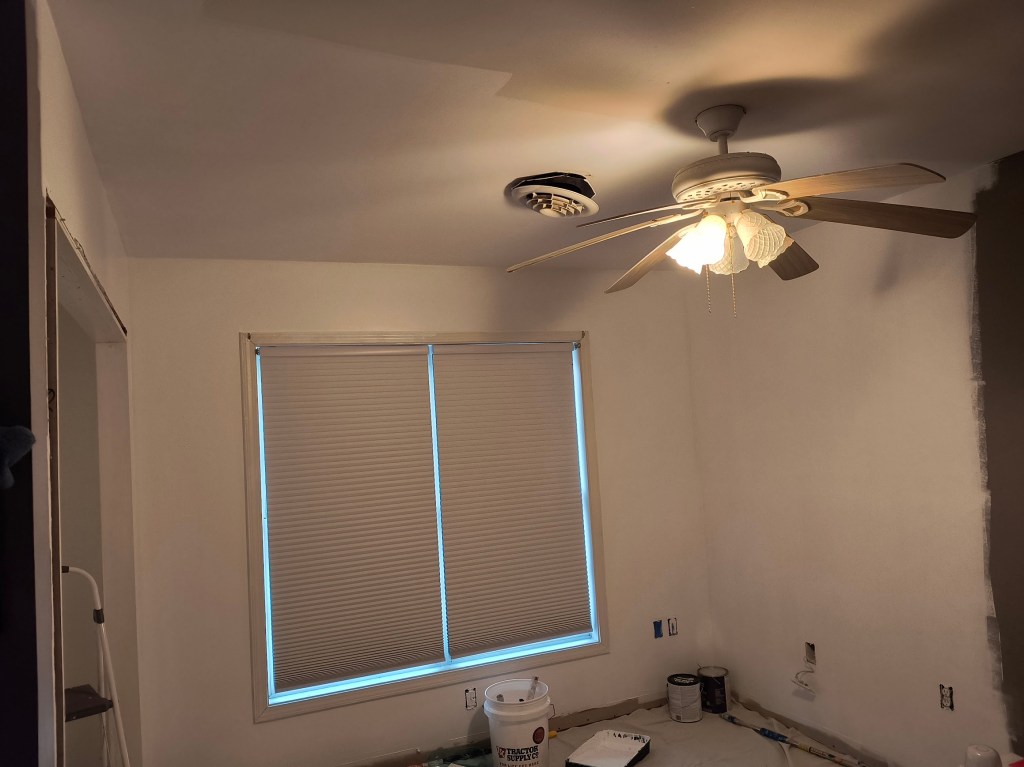
Last week, I completed the closet and the first half of bedroom #1, including the ceiling. This week, I painted the second half of bedroom #1. I have to say, that tip from the video in the previous post about rolling the inside corners first, especially where the ceiling meets the wall, made the rest of it go swimmingly.
Why? For one thing, you spend much less time straining your neck while painting the ceiling. Secondly, using a paint roller sleeve that is covered by the nap at one end enables you to really get the paint all the way in those corners, and hit the leading edges of each wall all at the same time.
Third, you don’t have to worry about splotchy spots or scrapes from a roller with two open ends in those areas because it’s already covered, and you only have to go up to the edge of those lines. Truth be told it’s still a pain to do those corners, but not as painful as it used to be.
*Note: I also recommend using this color changing ceiling paint. It’s great for letting you see your coverage, as well as knowing when it’s dry and ready for another coat.
Long of the short, it’s all ready to go for whatever tranquil shade of blue we decide to go with. On that note, allow me to point out that picking paint colors is more complex than you might think, at least if you’re doing it right.
Nearly every aspect of a room affects how the color appears on the wall:
- Furnishing choices
- Natural light in the room throughout the day
- Décor selections
- Flooring choices
- Lighting
- The type of ceiling you have
- The number of windows and choice of window treatments
- Adjacent wall colors
- The color of the trim
And probably a host of other things I’m not aware of because I’m not an interior designer. Taking all of this into consideration can be overwhelming.

The current times have the price of a paint sample from Lowes at $7. A year or two ago I believe it was close to $3-4. It’s insane how the prices of everything have skyrocketed. Thankfully, paint swatches are still free, which is a good place to start in your hunt for the perfect color. I always use those first to narrow down my choices.
It’s worth noting that in my experience paint often turns out to be 1-2 shades lighter than it seems on the swatch. Thus, I still recommend purchasing a paint sample before committing to 1+ gallons of paint that are currently (as of the writing of this article) about $30-$70/gallon.
*Note: Besides confirming your proposed color selection, samples also come in handy for minor touch-ups.
Photo by Spacejoy on Unsplash
Before you go selecting colors or purchasing samples, there is one important question to ask yourself: Are you really wanting to paint the walls, or could you do a simpler (and more cost effective) refresh, like changing the rug, the curtains, some fun pillow covers, perhaps?
If the answer is still a resounding yes, I am writing a separate post just for you on how to pick the right paint color(s). I will be sure to link to it here when it is finished.
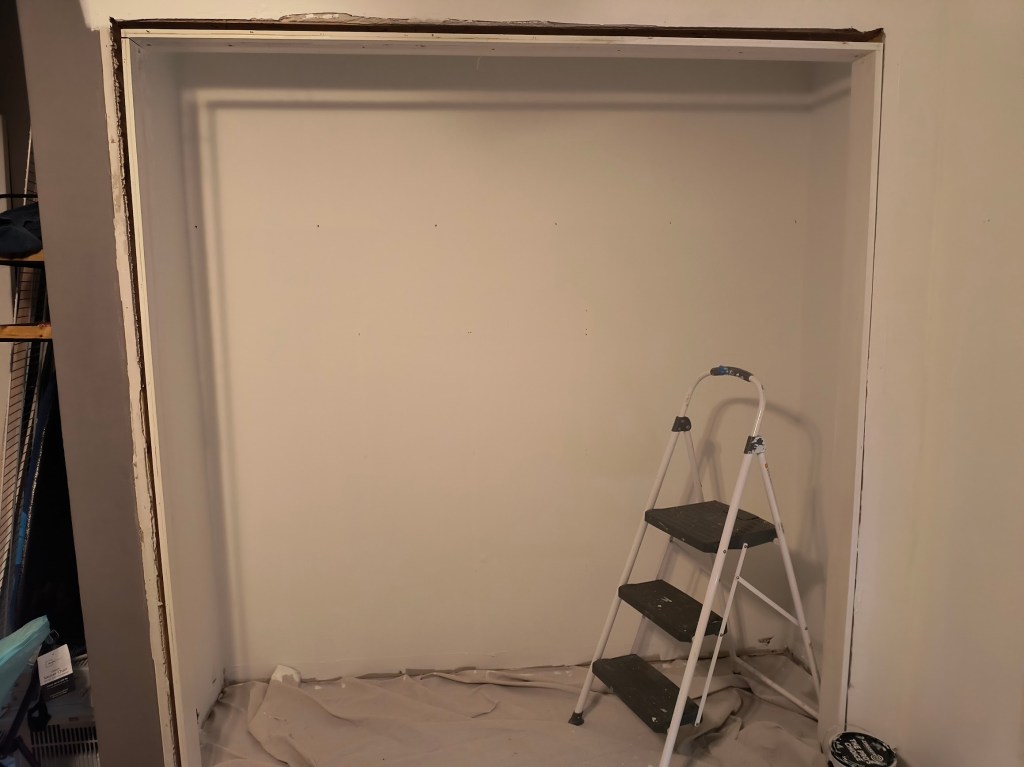
To sum up, we are nearly finished with the drywall work in my closet, and the mold issue in the laundry room has successfully been remediated. Bedroom #1 is refreshed and brought to a clean, neutral white, ready for color. Next on the to-do list is patching the wall in the pantry and laundry room, bringing bedroom #2 to a basic clean white in preparation for color, priming my closet, and patching random holes in the drywall throughout the house like the one pictured below.

What else is going on? We’re recovering from the flu, tending seedlings for our spring garden, reworking family schedules, and soon I will be butchering my first couple of chickens for our freezer. As the weather continues to warm up, I’ll be hatching chicks for the first time to replace them.
How about you, readers? What colors inspire you, calm you, or bring you joy? Are there colors you simply cannot stand at all? Let me know in the comments below!